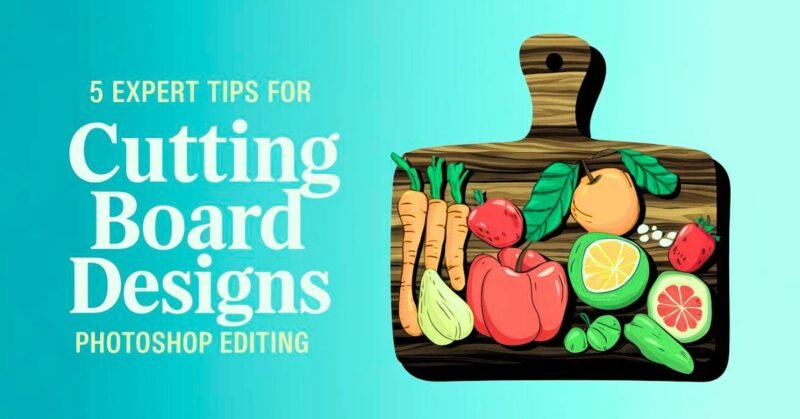
Cutting Board Designs Photoshop Editing: A Creative Journey for Photographers and Designers
In the world of digital design, cutting board designs Photoshop editing has become a niche area that allows photographers, online editors, and content creators to add a creative touch to their culinary photography or product imagery. Whether you are a professional photo editor or a content creator working on visual media, understanding how to enhance and refine cutting board designs through Photoshop is essential.
This blog post explores the creative possibilities of editing cutting board designs using Photoshop. We’ll look at popular design trends, provide expert tips, and discuss tools that will help you create stunning images that stand out.
Why Focus on Cutting Board Designs in Photoshop?

Cutting board designs Photoshop editing is not just about enhancing product images; it’s also about improving storytelling through design. In photography and content creation, cutting boards can play a significant role in visual narratives whether for food photography, kitchen décor shoots, or product marketing.
With professional editing tools available in Photoshop, you can turn ordinary cutting boards into eye-catching visuals that grab attention. From applying textures and colors to adjusting lighting, Photoshop enables detailed editing that brings out the best in every design.
Current Trends in Cutting Board Design
One of the most exciting aspects of cutting board designs Photoshop editing is the constant evolution of design trends. Whether you’re creating rustic wood finishes or sleek modern aesthetics, here are a few design trends to keep in mind:
- Woodgrain Textures: Adding realistic wood grain textures to your cutting board design can give it a more authentic and natural feel.
- Personalized Engravings: Many cutting board designs now incorporate personalized elements such as monograms or engraved names.
- Color Customization: Bold and pastel colors are becoming more popular in kitchen accessories, allowing for more playful and vibrant designs.
Photoshop’s powerful tools allow you to follow these trends and even innovate on them, ensuring that your cutting board designs are always on point.
How to Use Photoshop for Cutting Board Design Enhancements

The process of cutting board designs Photoshop editing requires a blend of creativity and technical skill. Whether you’re a beginner or an experienced editor, these steps will guide you through creating professional-looking cutting board designs.
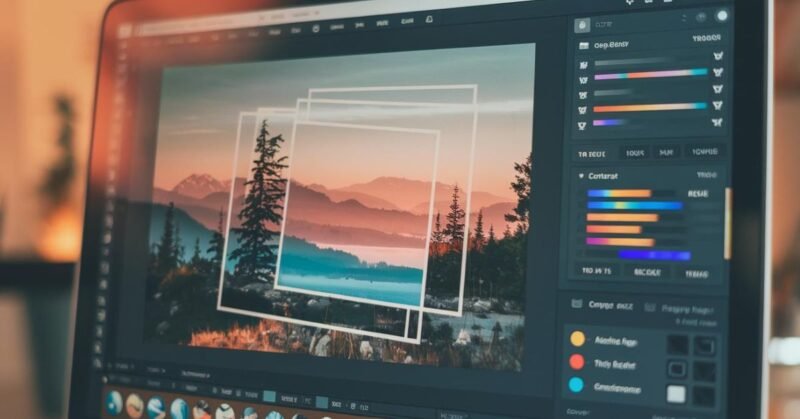
1. Layering for a Dynamic Effect
Photoshop’s layer system is one of its most powerful features. By working with multiple layers, you can easily manipulate different elements of your cutting board design. For example, you might have one layer dedicated to textures and another for adding shadows or highlights.
Using layers in cutting board designs Photoshop editing allows you to go back and adjust specific aspects of your design without affecting other elements. This ensures precision and flexibility in your editing process.
2. Customizing Textures for Realism
A cutting board’s surface often has unique textures, such as wood grains or a polished finish. Photoshop’s texture and pattern tools allow you to apply these surfaces realistically to your designs. Adding custom textures enhances the photo and makes the design look more professional and tactile.
To create realistic textures, use the Clone Stamp Tool or Brush Tool to manually paint in details that reflect natural materials.
3. Lighting and Shadows
One key aspect of cutting board designs Photoshop editing is the manipulation of light and shadow. Adjusting these elements can create depth, making your cutting board pop. Whether you’re working with natural lighting or creating a more dramatic look, tools like Curves and Dodge & Burn can help you refine the final image.
Using Cutting Board Designs for Product Marketing
If you’re a content creator or working with product photography, understanding how to edit cutting boards in Photoshop can significantly improve your marketing visuals. High-quality, well-edited images can attract more customers and elevate your brand’s presentation.
Cutting board designs Photoshop editing is particularly useful for:
- Food Bloggers: Elevate your food photography by placing your meals on beautifully designed cutting boards.
- Kitchen Product Brands: Showcase your cutting boards in use with enhanced lighting and color corrections.
- E-commerce: High-resolution images of cutting boards with clean, sharp editing stand out on product pages, leading to higher engagement.
Background Removal in Cutting Board Designs Photoshop Editing
One of the most essential techniques in cutting board designs Photoshop editing is background removal. This is especially important when you want to isolate the cutting board as the focal point of your image. Using the Pen Tool or Magic Wand Tool, you can easily cut out the background and replace it with a clean, neutral one.
This technique works well for e-commerce platforms where product images need to be displayed on a white background. Removing distracting elements also helps bring attention to the design details of the cutting board itself.
External Resources for Photoshop Editing
For photographers, editors, and creators looking to further enhance their cutting board designs Photoshop editing skills, there are plenty of external resources that offer tutorials, brushes, and patterns. Here are a few helpful links to explore:
- Adobe Photoshop Tutorials – A comprehensive resource for learning new Photoshop skills.
- Envato Elements – A library of textures, brushes, and design templates that can enhance your cutting board designs.
- Canva’s Photoshop Editing Guide – Canva offers easy-to-follow guides that can help beginners work through complex editing processes.
By utilizing these resources, you can expand your capabilities and ensure that your cutting board designs are both unique and professional.
Best Practices for Cutting Board Design Photoshop Editing
To make sure that your cutting board designs stand out, here are some best practices to follow:
- Maintain High Resolution: Always work in high resolution to ensure that your designs look crisp and professional.
- Stay On-Trend: Keep up with current design trends, whether it’s the texture of the board or the type of product photography style you use.
- Utilize Smart Objects: Convert layers into Smart Objects to maintain flexibility and quality when resizing or applying filters.
Incorporating these techniques will help you create visually striking images that appeal to your target audience.
Conclusion: Enhancing Your Cutting Board Designs with Photoshop
Incorporating cutting board designs Photoshop editing into your workflow will allow you to create stunning visual content that resonates with your audience. Whether you’re a photographer working on product shoots or an online editor looking to enhance your culinary images, mastering these editing techniques will set you apart.
By staying on top of design trends, utilizing Photoshop’s advanced tools, and exploring external resources, you can create cutting board designs that captivate and inspire. Start experimenting with textures, layers, and lighting, and watch as your cutting board designs transform from basic to extraordinary.
Related Posts:
- Advanced Techniques for Product Photography
- Best Tools for Food Photography Editing