Food Photography For A Complete Guide to Taking Mouth Watering Shots
Food photography is an art that can make your dishes look irresistible. Whether you’re a food blogger, chef, or social media enthusiast, mastering this skill can elevate your content and leave a lasting impression on your audience. In this guide, we’ll walk you through the essential tips, tools, and techniques that will make your food photography truly shine.
What Is Food Photography?
Food photography is the art of capturing images of food in a way that makes it look appetizing. This niche within photography blends creativity with technical skills, focusing on elements like lighting, composition, and styling to make food look its best. It plays a crucial role in restaurants, cookbooks, food blogs, and even social media.
Why Is Food Photography Important?
With the rise of social media, food photography has become a powerful marketing tool. Beautifully photographed dishes can draw attention, build your brand, and engage your audience. A well-shot image can trigger the viewer’s appetite, making it a critical tool for food-related businesses and influencers.
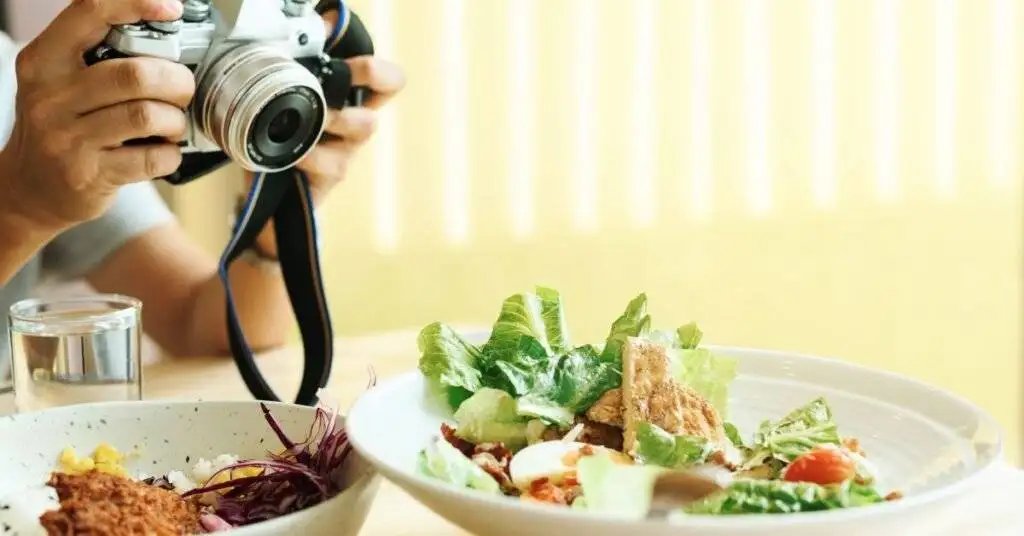
Getting Started: Essential Gear for Food Photography
Before diving into techniques, it’s important to discuss the basic tools needed for food photography. Contrary to popular belief, you don’t need an expensive setup to take beautiful food photos. However, having the right gear can make the process smoother and more efficient.
Camera
While you can start with your smartphone, investing in a good DSLR or mirrorless camera can significantly improve the quality of your images. Cameras like the Canon EOS R6 or Sony A7 III are great options for food photography due to their high resolution and excellent low-light performance.
Lenses
A 50mm or 85mm lens with a wide aperture (f/1.8 or lower) is ideal for food photography. These lenses allow you to focus sharply on your subject while creating a pleasing background blur, also known as “bokeh.”
Tripod
A tripod helps stabilize your camera, allowing for sharp images even in low light. It also allows you to experiment with longer exposure times and hands-free shooting, especially useful when adjusting food styling or props.
Key Food Photography Techniques
Now that you’re set up with the right gear, let’s dive into the techniques that will elevate your food photography game.
1. Master the Lighting
Lighting is one of the most important aspects of photography, especially when it comes to food. The wrong lighting can make even the most delicious dish look unappetizing.
- Natural Light: The best option is always natural light. Shoot near a window, and avoid direct sunlight, which can create harsh shadows.
- Diffused Light: If natural light isn’t available, use diffused artificial light. A softbot or diffuser will create a soft, even light that highlights your dish without harsh shadows.
- Reflectors: Use reflectors to bounce light back onto your food. This can help fill in shadows and create a more balanced shot.
2. Choose the Right Angles
Selecting the right angle for your shot is crucial. Certain dishes look better from different perspectives.
- Overhead (90-degree angle): Great for flat dishes like pizzas, salads, and soups. This angle highlights the colors and layout of the dish.
- Straight-On (0-degree angle): Ideal for layered foods like burgers, sandwiches, or tall cakes, where you want to showcase the height and structure.
- 45-Degree Angle: A versatile angle that works well for most foods. It mimics the view we usually have when sitting at a table, making it feel more inviting.
3. Focus on Composition
Composition is about arranging elements in your shot to guide the viewer’s eye. Some popular composition techniques include:
- Rule of Thirds: Divide your frame into a 3×3 grid and place your subject off-center to create balance.
- Leading Lines: Use lines (cutlery, plates, etc.) that lead the viewer’s eye toward the main subject.
- Negative Space: Don’t clutter your frame. Leaving some empty space can make your dish the focal point.
4. Use Props Wisely
Props can enhance your food photography by telling a story, but they should never overpower the food.
- Neutral Backgrounds: Use simple, neutral-colored plates and backgrounds to keep the focus on the food.
- Complementary Textures: Add depth to your photo by including textures like wooden cutting boards, linen napkins, or ceramic plates.
5. Color Theory in Food Photography
Colors evoke emotions and can make food appear more appealing. Use complementary colors in your dish and props to make the food pop. For example, pairing red tomatoes with a green basil garnish can make both colors stand out.
Styling Tips for Food Photography

Food styling is the art of arranging food for a photograph in a way that looks both natural and visually appealing.
1. Keep It Fresh
Work quickly to ensure that the food looks fresh. If you’re shooting hot dishes, try to capture steam rising from the plate. Use a spray bottle to add a bit of water for a fresh look on salads or fruit.
2. Add Garnishes
Garnishes can elevate a dish visually. Adding a sprinkle of herbs, a drizzle of sauce, or a pinch of seasoning can take your photo from good to great.
3. Texture Is Key
Highlight the textures of your dish. Whether it’s the crispy edge of a pie or the soft interior of a cake, texture adds depth to your photos. Cut into the dish or break it apart to show what’s inside.
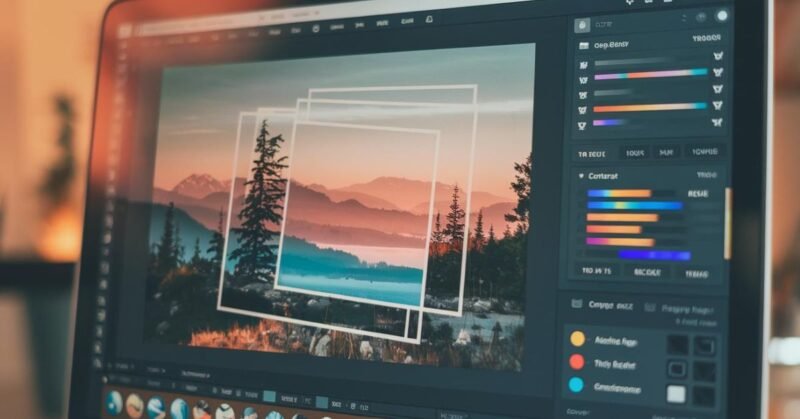
Editing Your Food Photos
After shooting, the next step is editing. Post-processing can help enhance the colors, adjust lighting, and sharpen your images.
1. Adjust Exposure and Contrast
Make sure your images are well-lit and have a good balance of highlights and shadows. Increase contrast to make the food stand out more.
2. Enhance Colors
Slightly increase the saturation or vibrancy to make the food look more appetizing, but be careful not to overdo it.
3. Sharpen Your Images
Sharpening can help bring out the details in your food, making it look crisp and mouth-watering.
4. Remove Distractions
Use editing software like Photoshop or Lightroom to remove any unwanted elements in the background or spots on the dish that distract from the main subject.
Perfect Your Food Photography Today
Food photography is a blend of creativity, technical skill, and styling. With the right techniques, you can transform your food photos into stunning works of art that will capture your audience’s attention. From mastering lighting and angles to choosing the right props and post-processing, every step matters.
Whether you’re shooting for a blog, a restaurant, or just for fun, remember that practice makes perfect. Start experimenting today, and don’t be afraid to play around with different techniques until you find your style.
Read More About External Resources:
- Internal Link: Check out our guide on editing photos like a pro.
- External Link: For more photography tips, visit PhotographyLife.