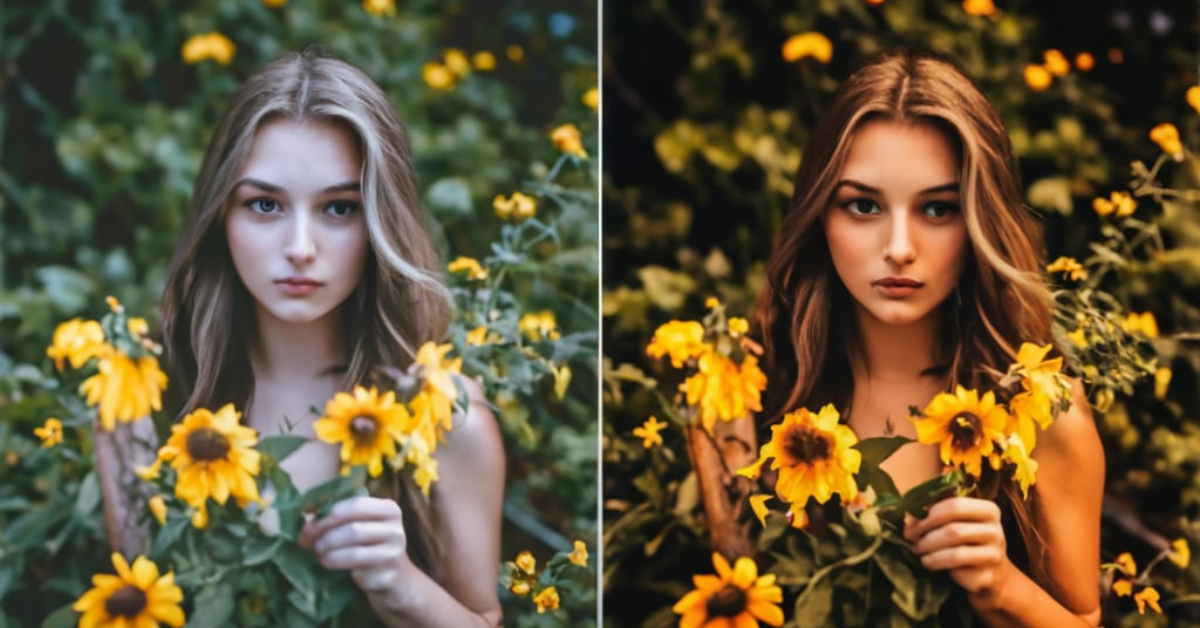
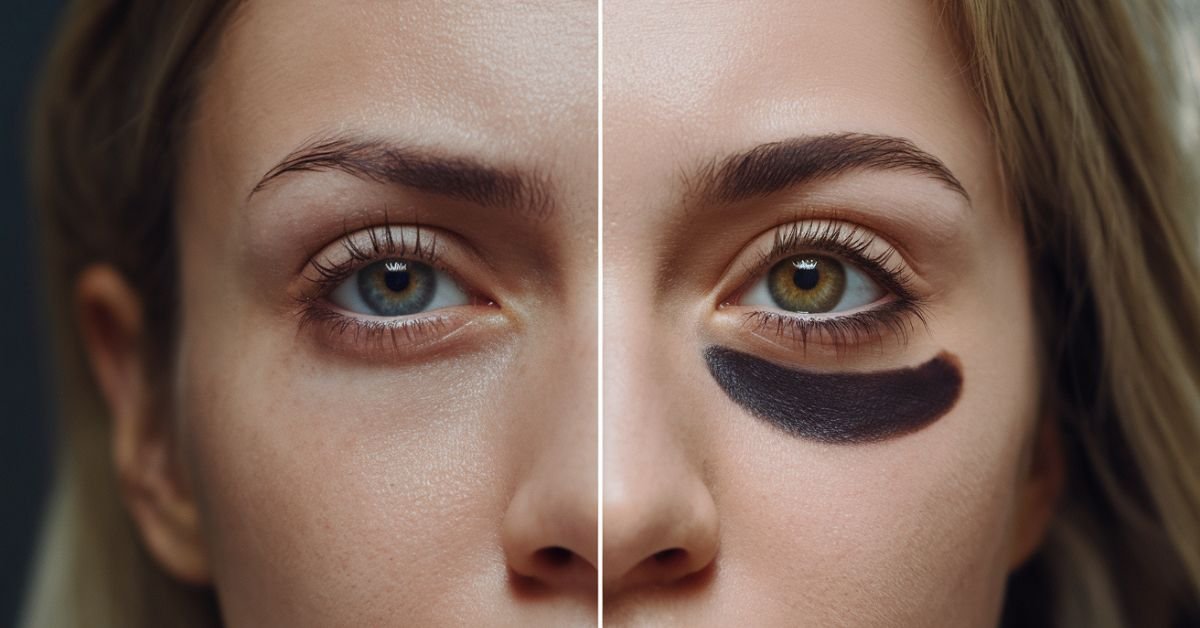
When it comes to creating stunning photos, color and contrast are essential elements. They can make an ordinary picture look extraordinary with just a few tweaks. In this tutorial, we’ll guide you through the simple steps to adjust color, increase contrast, and enhance image brightness, ensuring your photos always look their best.
Why Are Color and Contrast Important
Color and contrast define the overall mood and clarity of your images. Correctly adjusted colors bring life to your pictures, while optimal contrast ensures sharpness and detail. Together, they’re key to achieving professional-looking photo enhancement.
Step-by-Step Guide to Boost Color and Contrast
1. Start with a High-Quality Image
Always use the best resolution image available. High-quality photos provide more flexibility during editing and deliver better results after enhancements.
2. Choose the Right Photo Editor
For this tutorial, we recommend using the Online Photo Editor Pro, a free and user-friendly tool that allows you to make adjustments quickly. No downloads are required, and it’s completely watermark-free.
3. Adjust Image Brightness
- Open your photo in the editor.
- Locate the brightness tool under the “Enhance” menu.
- Gradually increase brightness to make the image pop, but avoid overexposure.
- Check for natural lighting; your photo should look bright but not washed out.
4. Fine-Tune the Colors
- Use the “Color Adjustment” option.
- Increase the saturation slider to make the colors more vibrant. Be careful not to oversaturate; subtle changes can look more professional.
- Experiment with hue settings to achieve the right color balance.
5. Increase Contrast
- Navigate to the contrast adjustment tool.
- Gradually move the slider to the right to enhance the distinction between light and dark areas.
- Higher contrast brings out details in your photo, making it look sharper and more dynamic.
6. Apply Filters (Optional)
- Use filters to give your image a distinct style.
- Soft contrast filters work great for portraits, while high-contrast filters can make landscapes more dramatic.
7. Preview and Save
- Always preview your edits before saving.
- Compare the edited version with the original to ensure you’re satisfied with the adjustments.
- Save your image in a high-quality format for sharing or printing.
Pro Tips for Best Results
- Use Natural Light: While editing can do wonders, taking photos in good lighting reduces the need for excessive adjustments.
- Know When to Stop: Overediting can make your photo look unnatural. Aim for a polished, realistic result.
- Practice Different Settings: Experiment with various levels of brightness, contrast, and color until you find a style that suits your image.
- Use Online Tutorials: Platforms like Online Photo Editor Pro offer in-depth guides and tips to help you master photo editing skills.
Why Use Online Photo Editor Pro?
With tools specifically designed for photo enhancement, Online Photo Editor Pro allows you to adjust color, increase contrast, and enhance image brightness effortlessly. It’s perfect for both beginners and professionals looking to create high-quality images without complex software.
How to Optimize Your Edited Photos for Google Search
Enhancing photos isn’t just about aesthetics; it’s also crucial for online visibility. Here are some tips for optimizing your images for Google:
- Use Descriptive File Names: Rename your image files with relevant keywords like “adjust-color-photo.jpg.”
- Add Alt Text: Describe the photo with terms like “vibrant photo with enhanced color and contrast.”
- Compress Images: Reduce file size without sacrificing quality to improve website loading speed.
- Use Structured Data: Implement schema markup for images to make them more discoverable.
- Host on Fast Servers: Ensure your images load quickly to retain user attention.
Advanced Editing Features to Explore
1. Batch Editing
Save time by editing multiple photos simultaneously. Adjust brightness, contrast, and colors in bulk without compromising quality.
2. Selective Adjustments
Use masking tools to apply edits only to specific areas of your image. For example, brighten the subject while maintaining a dark, dramatic background.
3. AI-Powered Enhancements
Leverage AI features for automatic adjustments. Tools like “Auto Enhance” intelligently optimize brightness, contrast, and color balance.
4. Custom Presets
Create and save your own presets for consistent editing. Apply your favorite settings with a single click.
Take your photos to the next level by mastering these simple yet effective techniques. With a few clicks, you can transform dull pictures into vibrant works of art that capture attention and leave a lasting impression.


